Process

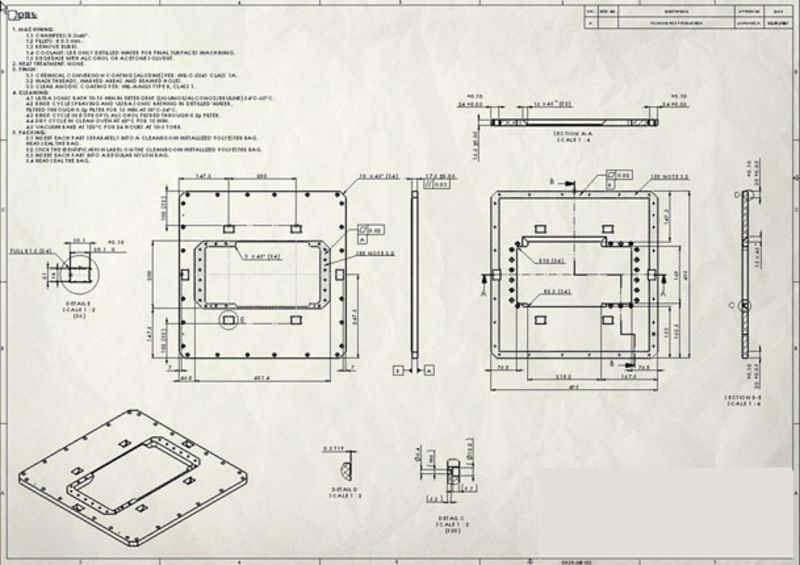
Open a drawing in SolidWorks.
With Inspection Geni this drawing can be done using any number of sheets and any number of dimensions.

In the Inspection Geni main menu select the new command.
The drawing name is taken from the SolidWorks drawing name. Enter the Company name. This will help you later to find the project.

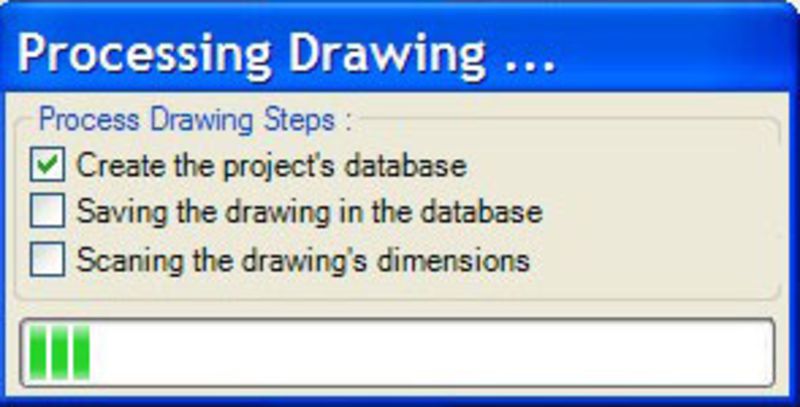
The scanning progress is indicated by the progress bar.

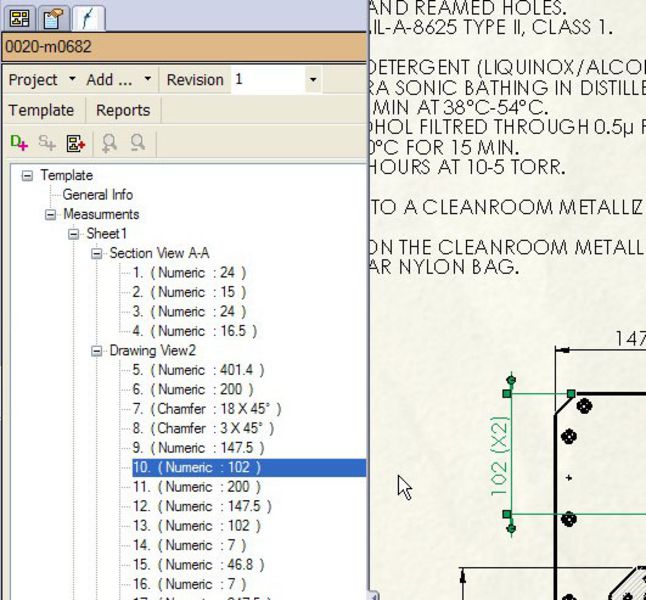
Inspection Geni builds a tree indicating all the dimensions in the drawing.
The dimensions are sorted according to sheet, view, and surrounding views in CCW direction assisting the user to locate the dimensions in the inspection report. The dimensions in the tree are associated with the dimensions on the drawings. so when you will move to a dimension on the tree, the dimensions on the drawing are highlighted, and vice versa.
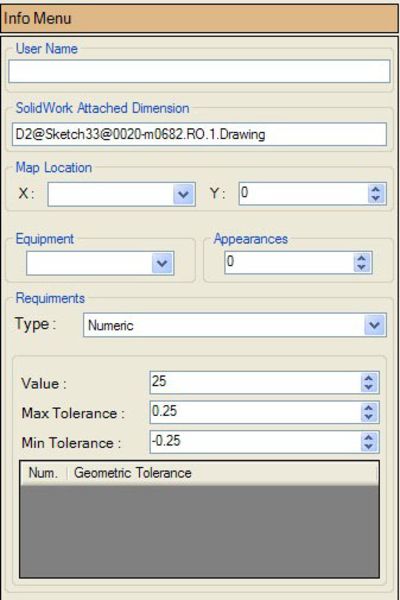
Every dimension has a dialog in the property manager and you can enter the information you need to add, for example, map location, tolerance and measuring tools.

In the Information area you can select the measuring equipment to indicate the measuring tool. This will help you later on when you need to obtain a dimension report for different staff who will measure the part.

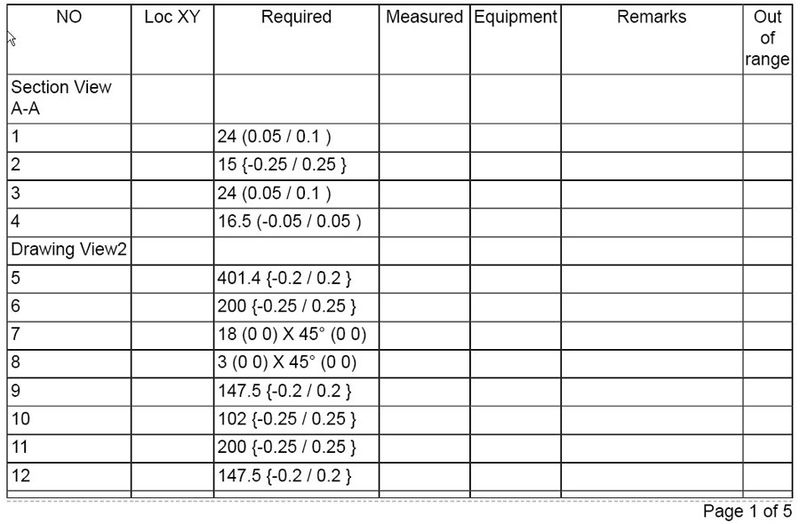
Inspection Geni will generate an inspection report. You can print PDF format or MS Word. The word format is based on a temple so it is very friendly and easy to change it.

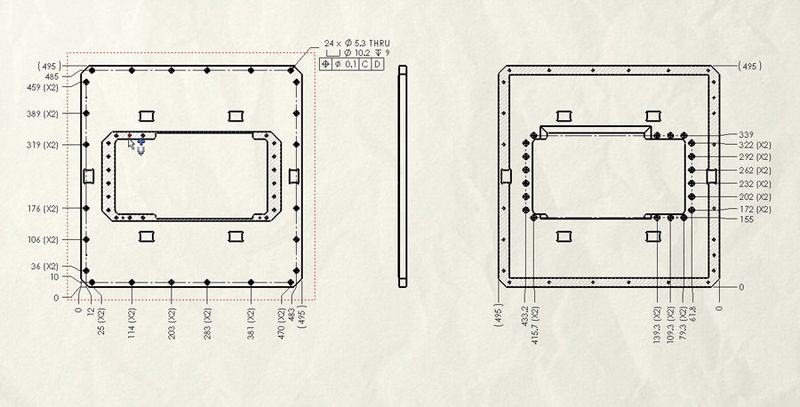
This is an example of a complete drawing that includes the dimension ID numbers. We add the dimension ID into the dimension itself to exactly align the two. For example: 150.5 will be 150.5 {128} = 128, therefore, is the dimension ID.

This is an example of a complete drawing that includes the dimension ID numbers. We add the dimension ID into the dimension itself to exactly align the two. For example: 150.5 will be 150.5 {128} = 128, therefore, is the dimension ID.

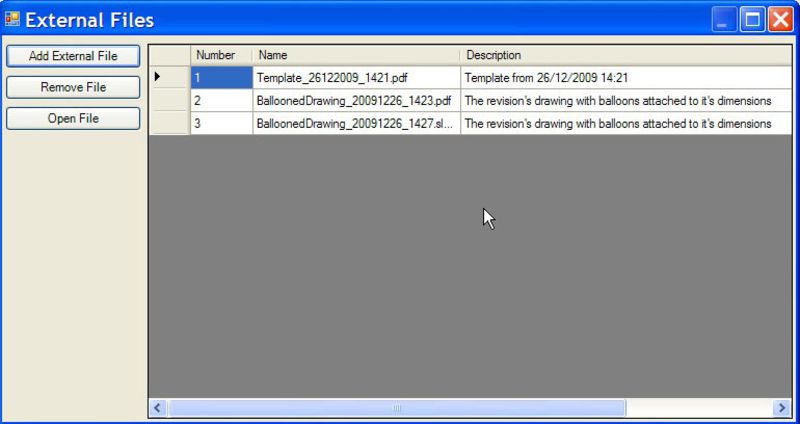
The entire document generated with the system is saved in the directory. Users can also find the external file dialogue of the saved documents. You can also add manually reports, emails, or any file that needs to be archived with the drawing for later location.

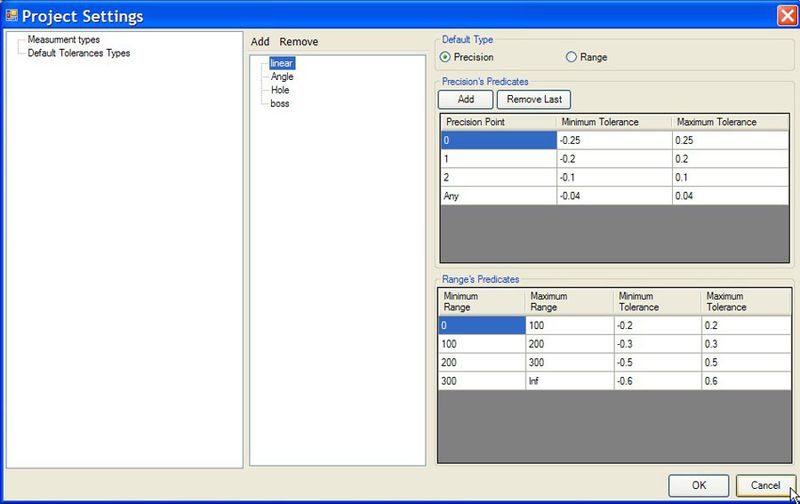
Inspection Geni allows users to set global tolerances. You can set dimension tolerance and family name, then assign the type of the tolerance related to the number of decimal points or range. Any change in this tolerance will immediately effect on the tolerance you see in the dimension info dialogue and in all the printout documents.

In the report tree you can enter the measured dimension. This is for the inspector to enter the dimension he has been working with. These entries will allow you to build a final report. You can build several reports simultaneously by switching on the dimension info area or clicking on top of the property manager.

If you want to open old projects, a search dialogue will help you to easily find the necessary file.

That’s it! You are done! You did-it with Balloon-IT.

Now you can send-it to your suppliers and they too will benefit – it’s a win-win scenario!

© 2021 Albitech Ltd.