Process
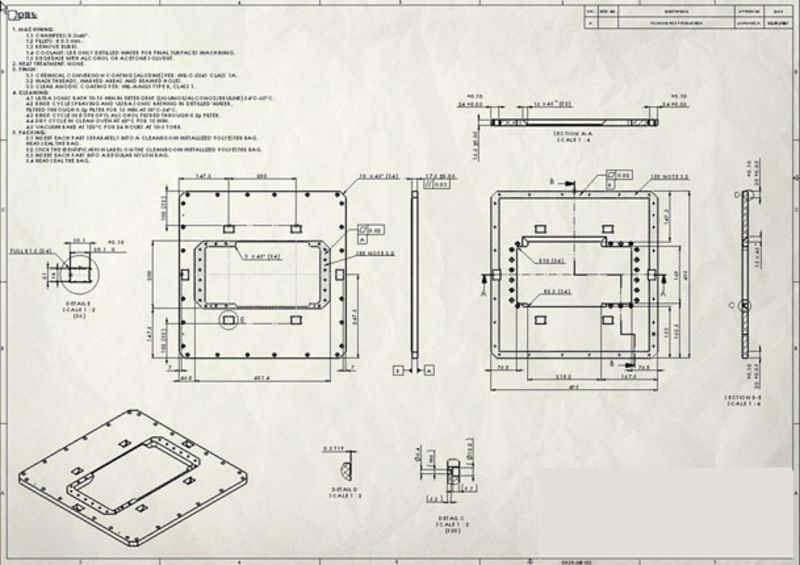
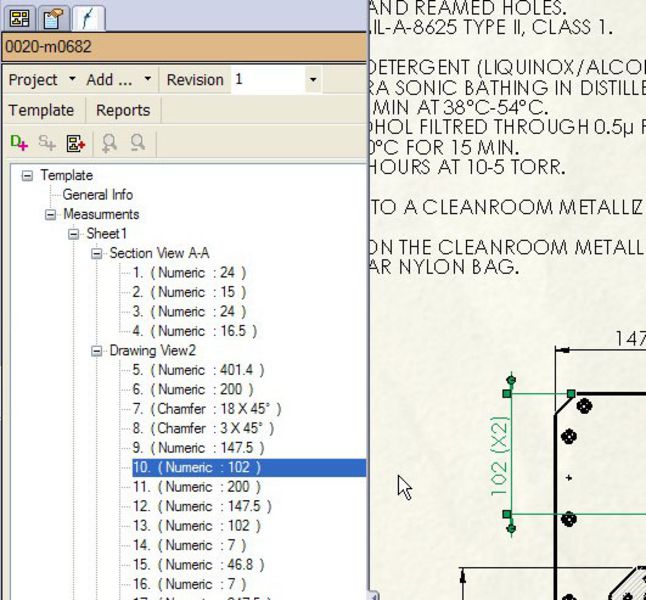
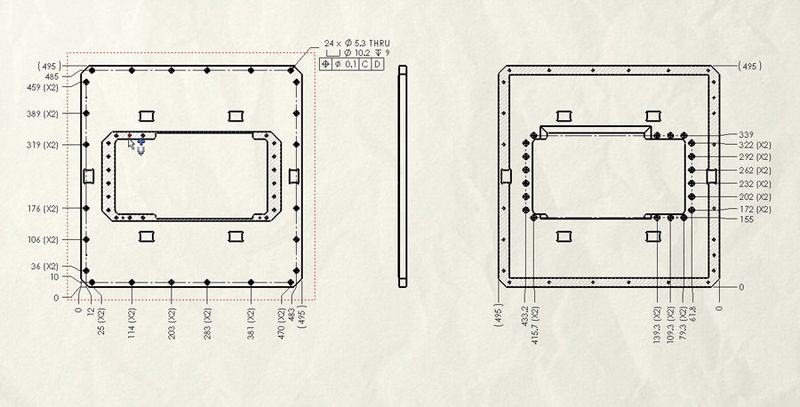
Inspection Geni builds a tree indicating all the dimensions in the drawing.
The dimensions are sorted according to sheet, view, and surrounding views in CCW direction assisting the user to locate the dimensions in the inspection report. The dimensions in the tree are associated with the dimensions on the drawings. so when you will move to a dimension on the tree, the dimensions on the drawing are highlighted, and vice versa.
That’s it! You are done! You did-it with Balloon-IT.
Now you can send-it to your suppliers and they too will benefit – it’s a win-win scenario!


